What is mulukhiyah?
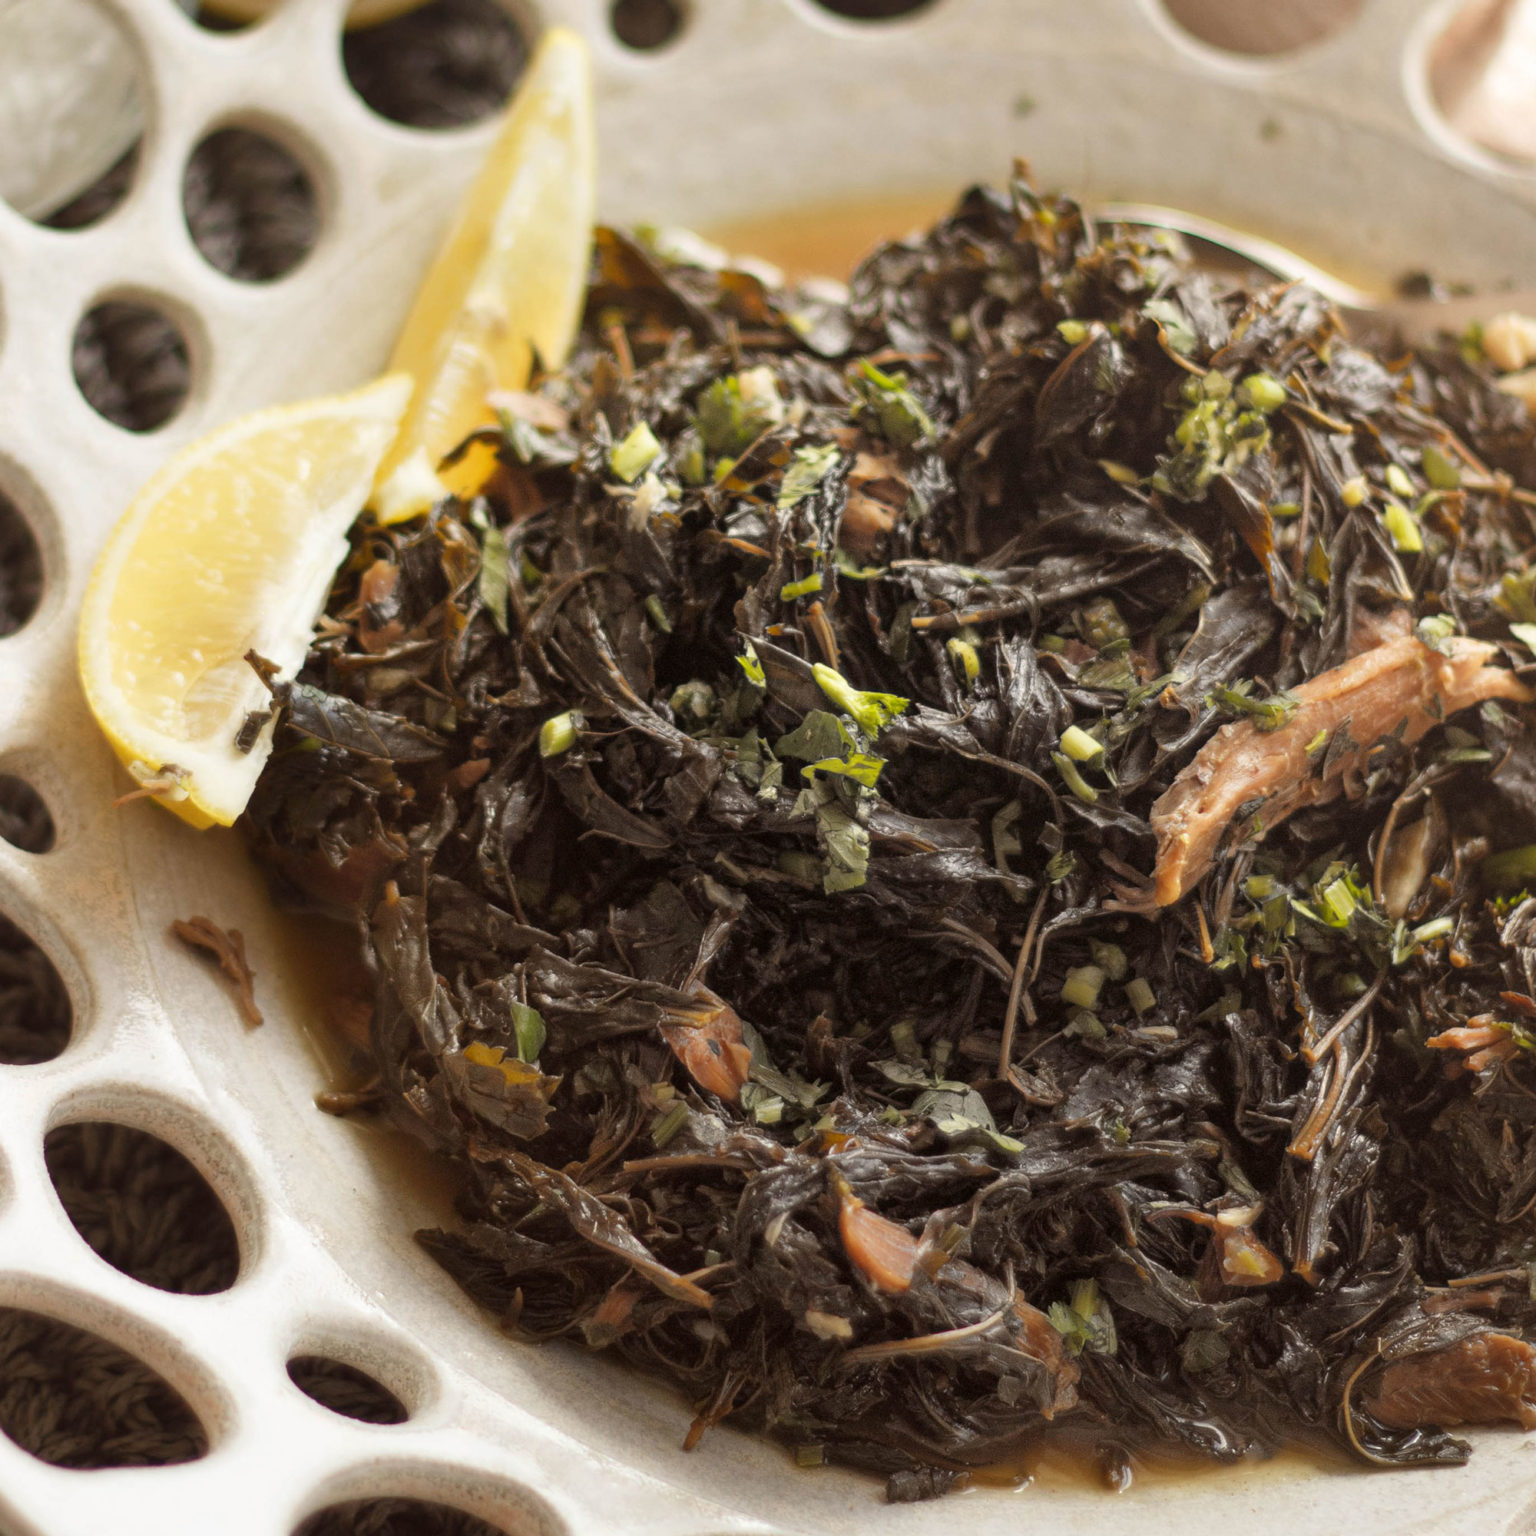
Mulukhiyah is a Middle Eastern stew, made with jute leaves. The dish can be made in many ways, but primarily the leaves are cooked in broth with meat, and eaten with lemon, rice, pita and various toppings according to region and taste. Delicious, nutritious and pure middle eastern comfort food!
What are jute leaves?
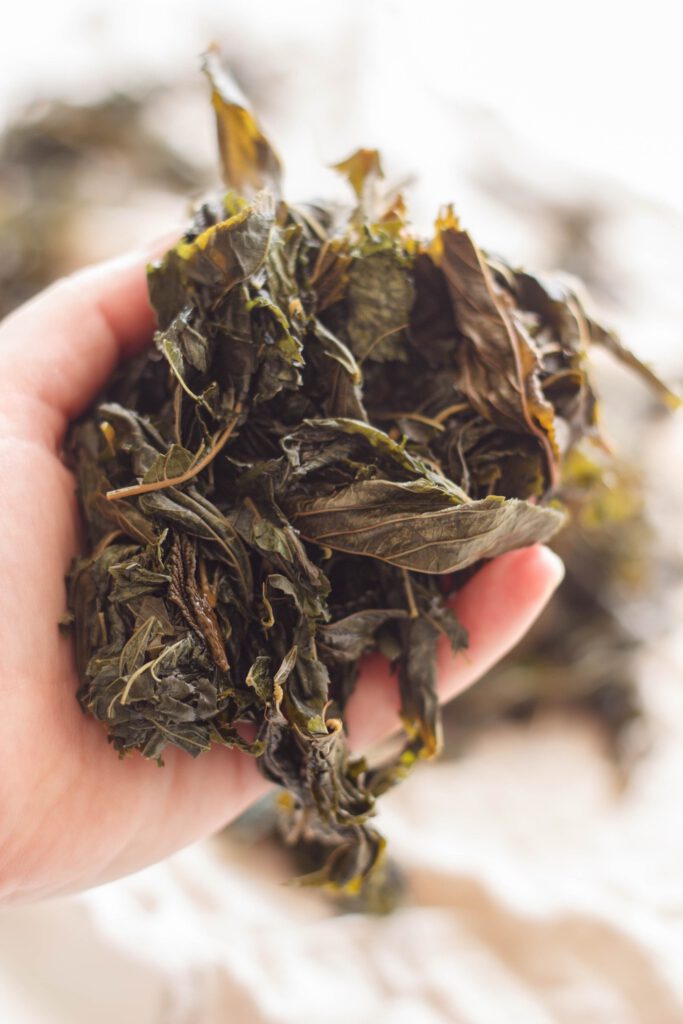
You can read more about them on this wiki page for a detailed explanation. If you’ve never had them before, I would compare them to spinach, however they have a slightly slimy texture (which I absolutely adore) which is similar to that of okra. The leaves are considered somewhat a superfood, rich in Vitamins E, A and C and antioxidants. They have a very distinctive taste and are utterly delicious, eaten by families through-out the Arab region.
No doubt about it, this is a dish that varies not only by region – but also by household. I learned this when my husband refused to the first ever mulukhiyah dish I made him saying he wanted onions and vinegar on the side. I never heard of eating it with onions and vinegar, as in our Syrian household we only ate it with alot of lemon, bread and rice! In this post I’ll be documenting the Syrian version with little tweaks here and there so you can make it according to your taste, including the little onion and vinegar topping my husband adores.
Lamb, beef, chicken or vegetarian versions
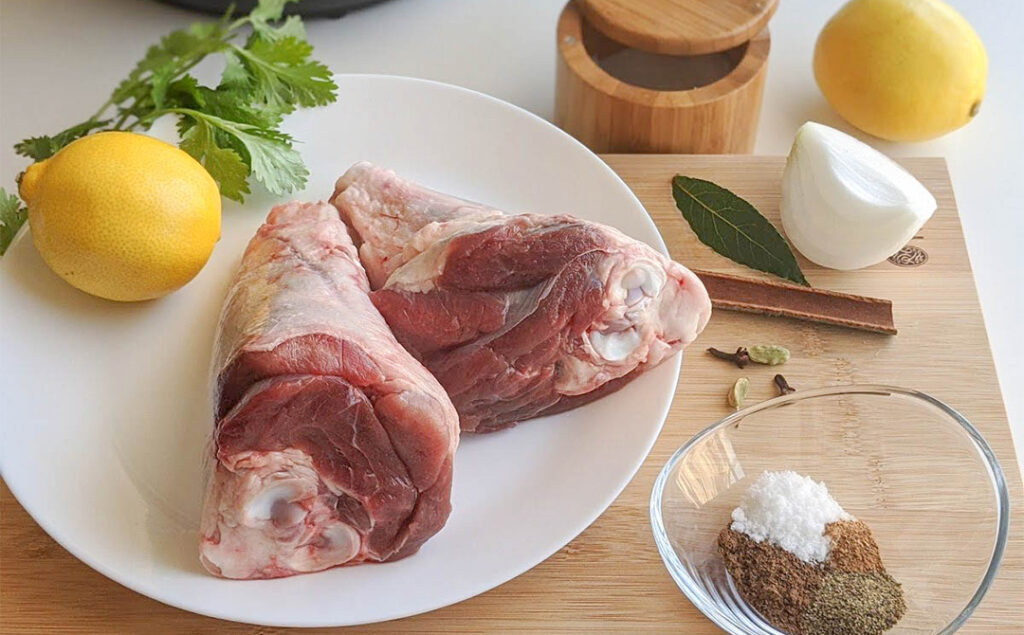
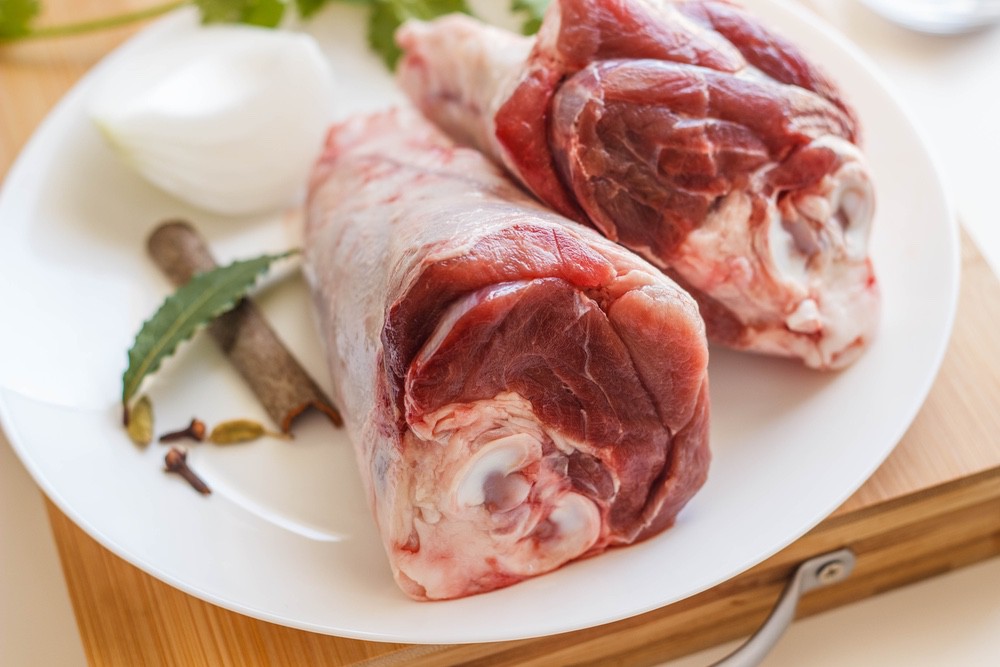
I find this dish shines with lamb meat, and equally beef. Basically you need to have cubed or shredded meat and a very delicious broth to make this dish really flavourful. You would need to make a batch of my Beef or Lamb Meat Stock for this dish. If you are in a hurry or don’t have meat to make this dish, you can use stock cubes and minced meat. You can use any type of stock cubes, except the mushroom one as it’s a totally different ball game, but of course, to get the deep levels of flavour you need to make a very rich stock and use delicious cuts of meat to get that decedent homestyle taste.
Good news for chicken lovers, you can also make this dish with chicken, as it’s also equally delicious and popular! I rarely however make this with chicken as my husband is not a big fan of poultry, but you can easily make the switch by using this Chicken Stock Recipe instead. The same method applies of course, just switch the protein! If you opt to make it vegetarian, it’s equally simple. Just use a vegetarian stock and don’t add any meat. I don’t think adding tofu or tempeh here will work – but if you try it, let me know in the comments.
Different types of mulukhiyah
Fresh mulukhiyah
When I was a kid in Damascus, I remember my father bringing in these large large (think huge garbage bag size) of mulukhiyah leaves, and my mom and grandmother would have to go through them, washing them, drying them and freezing them for later use. I don’t recall the method they use as more and more people are opting for convenience and buying ready washed and prepared leaves for their stews. When I visit Damascus or Lebanon again I will go through the process of using fresh leaves and document it first hand for that really authentic ‘farm to table’ dish.
Frozen mulukhiyah
In areas with large Middle Eastern populations & stores, you can easily find frozen mulukhiyah. You can usually find them in 2 versions, one being chopped and the other being whole. Essentially they are the same leaf, and if needed can be used interchangeably, however you will not get that ‘Syrian’ texture if you use the chopped one. The chopped version is used primarily for the Egyptian style of mulukhiyah which is more of a soup than a stew. The Syrian one is more of a hearty leafy dish, with the broth infused in the leaf rather than around it. To use the frozen mulukhiyah you would heat the broth first and then add in the frozen leaves and cook them – no need to thaw. The rest of the cooking method more or less stays the same.
Dried mulukhiyah
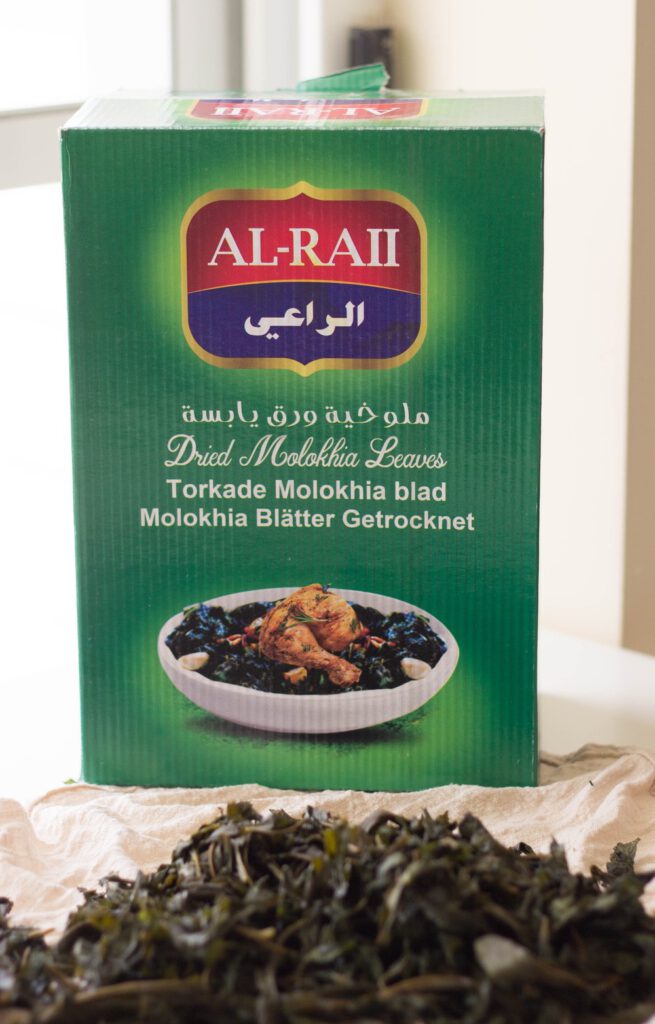
My favorite type of mulukhiyah is the dried one, because it doesn’t take up room in your freezer (in Malta we have really small fridges and freezers!) and it’s more readily available. This type of mulukhiyah usually comes in a box, and comes from either Lebanon or Egypt. If you find the Lebanese one go for that!
Additionally, I love the dried one because it goes through a few rounds of infusion. The first round is the infusion with the ghee & garlic which makes it nice and crispy and fills the kitchen with a delicious aroma, and the second of course is when you cook it in the flavourful broth.
Preparing dried mulukhiyah
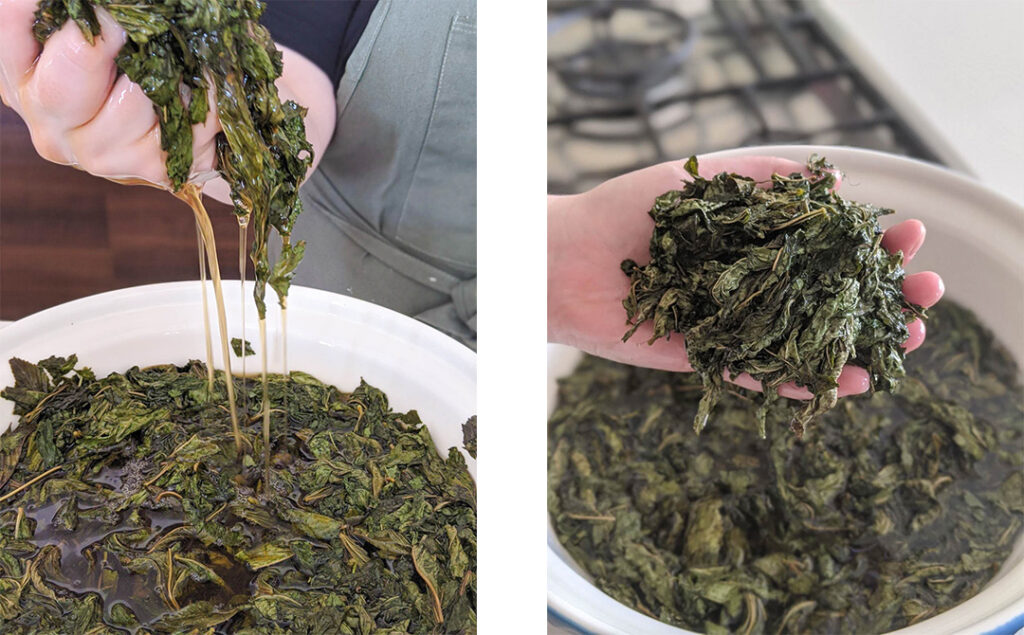
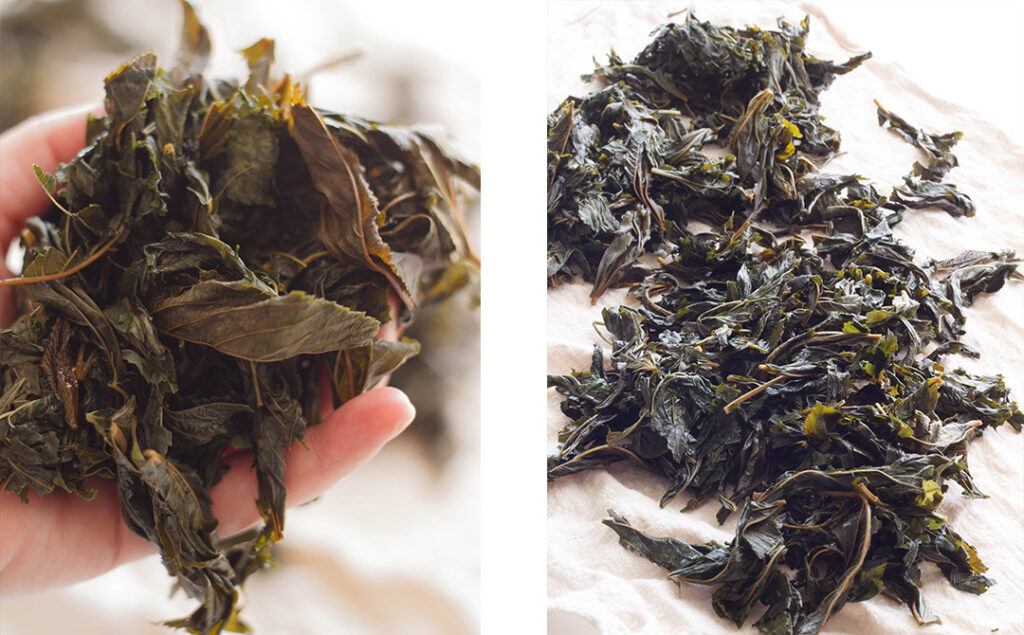
The main hassle of using dried mulukhiyah is the prep time, so it’s best to start this dish in the morning as it needs some time to go through rounds of soaking. The first step is to wash it in a large bowl filled with room temperature water and swirl it around to remove the grit and any dust or dirt. Swish it around a bit until you are satisfied that it’s thoroughly clean. Next, soak it in hot water for around an hour. The goal is to soften the leaves up, and expel as much slime (it’s not really slime, but once you do it, you’ll know what I am talking about!) as you can.
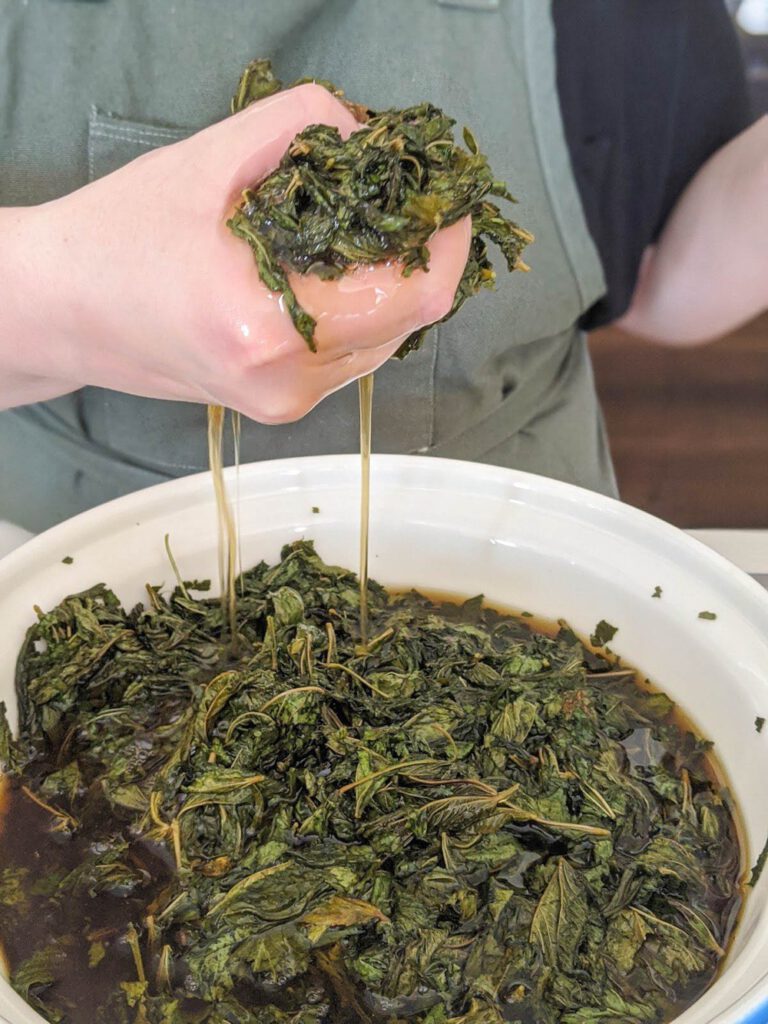
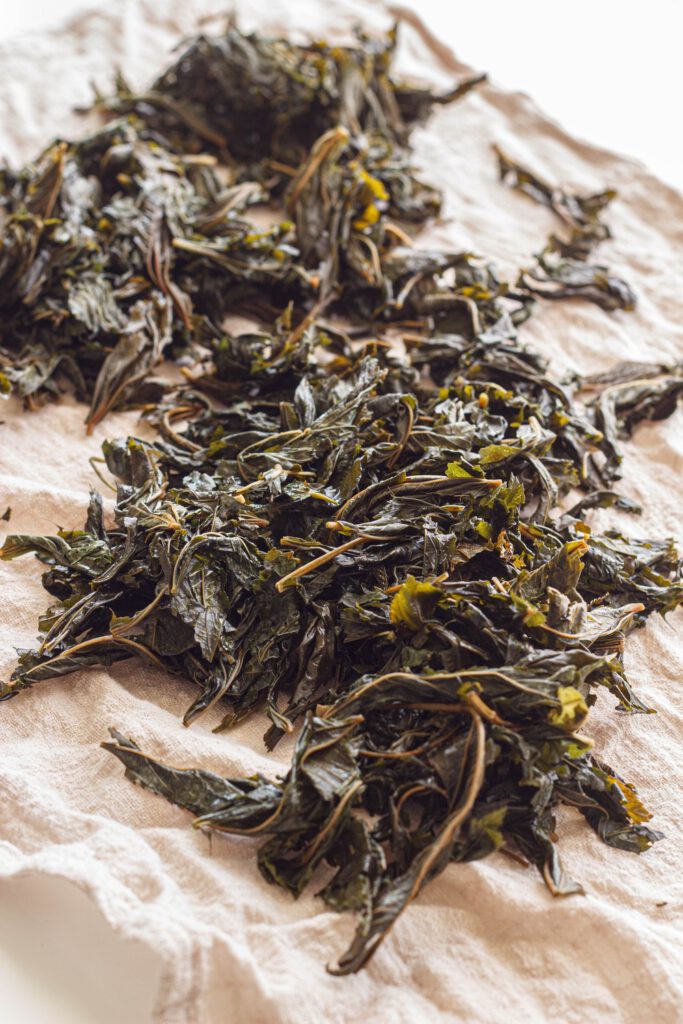
After that, squeeze out as much water as you can then soak it in cold water for around 30 minutes. The cold water soak will shidd (شد) the leaves, which in Arabic means to compress them. This process allows the leaves to tighten a bit so that they don’t turn to mush, and lets them contain their sliminess a little bit! After that, squeeze out as much water as you can and leave them to dry. The drier the better, but you can also start cooking it right after this step!
Let’s start cooking the mulukhiyah!
This dish comes together quite easily if you start prepping it in the morning. The most exhaustive part is making the Beef or Lamb Meat Stock or Chicken Stock to use in it. Ideally, you would already have a batch of this in the freezer somewhere which will make this meal come together quickly. If not, you can always use stock cubes and minced meat or keep it meatless! Not as hearty, but still equally delicious!
Fry the leaves
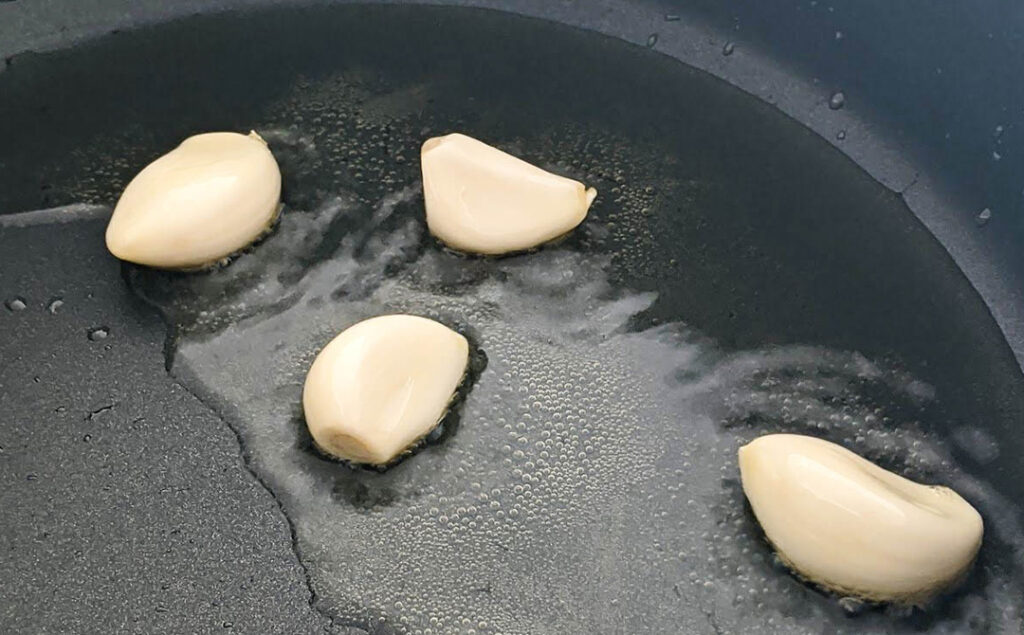
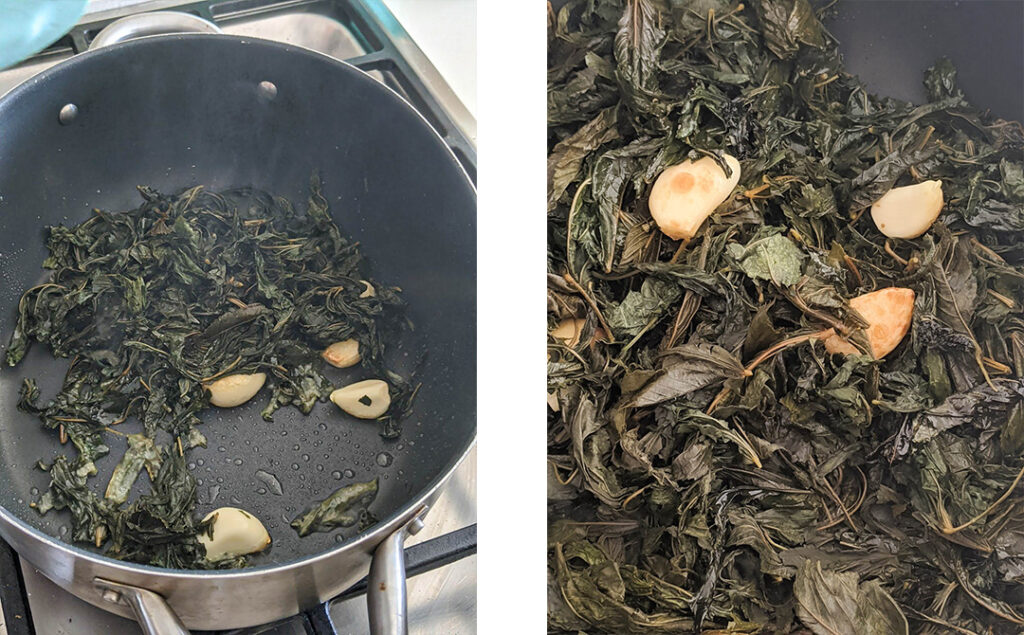
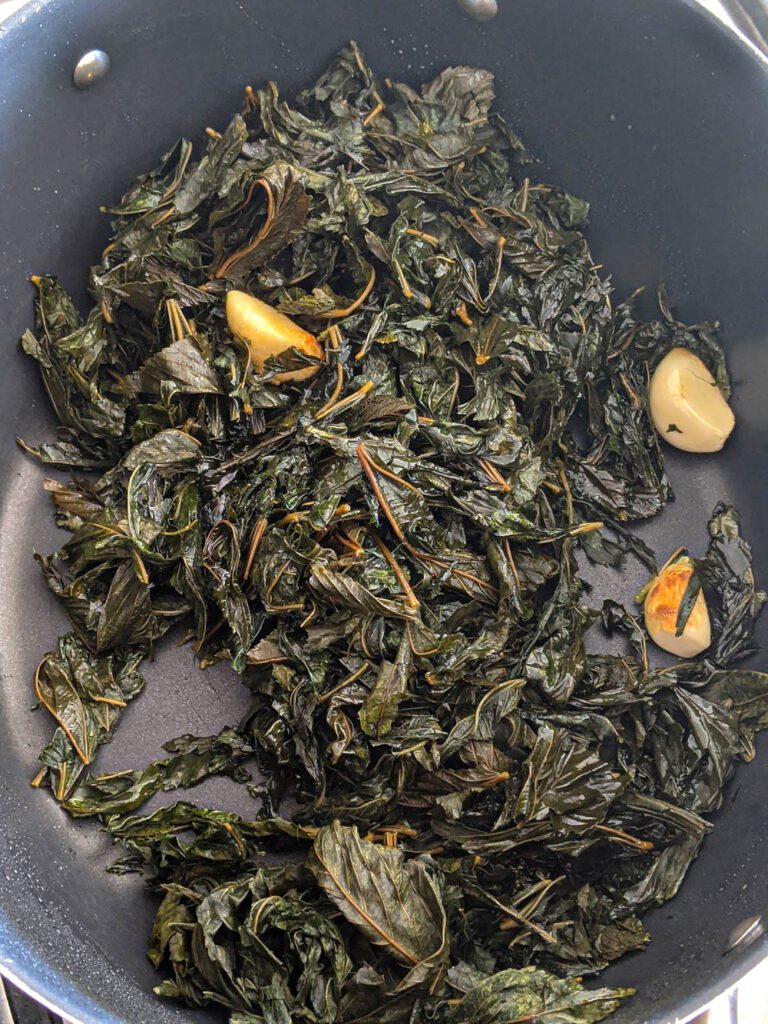
Start by adding 2 tablespoons of ghee to a large pot (one that you have a lid for!). Once it’s hot, pop in 3-5 whole cloves of garlic and start to infuse the ghee. Once you start to smell the delicious garlic aroma (maybe 30-40 seconds), add the dried leaves and continue to fry them for around 3-5 minutes. I like to envision them getting nicely toasted with buttery ghee and garlic, adding layers of flavorful dimensions to each leaf ?
Add the stock & simmer
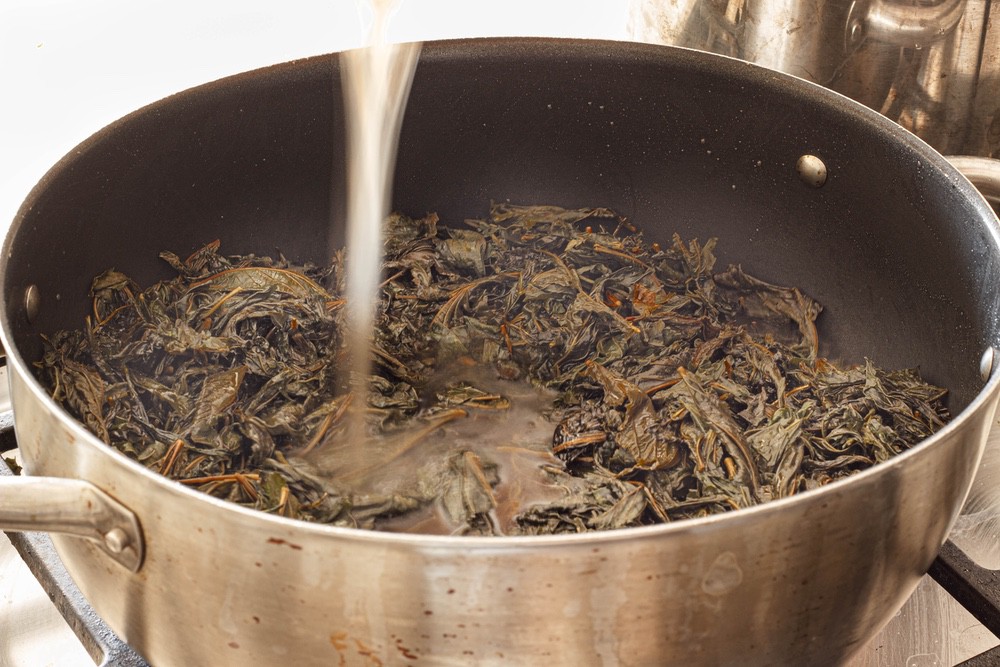
Once you’re content with leaf infusion, add in the stock and bring it to boil. Should you bring the stock to boil if it’s frozen? Does it make a difference? These are questions I always ask myself when cooking, and I’ve always wanted to make a taste comparison. Some cooks insist on adding cold liquids and then gradually bring it to boil, while others heat it up separately and add it in to reduce cooking time. I say do whatever is easiest for you at this point, but the main goal is to bring the stew to a nice boil and then cover it for around an hour.
Prepare the cilantro & garlic mixture
Do you have a mortar & pestle? Not completely necessary but it does complement the Syrian kitchen ? I recall my mother having this brass gold coloured mortar and pestle where I would always peek into and see a mound of garlic smashed and ready to go. Smashed garlic is a key ingredient in many Syrian dishes, and somehow it does give a different aroma than the minced one. But if you want smaller garlic pieces in your stew, use a normal garlic mincer.
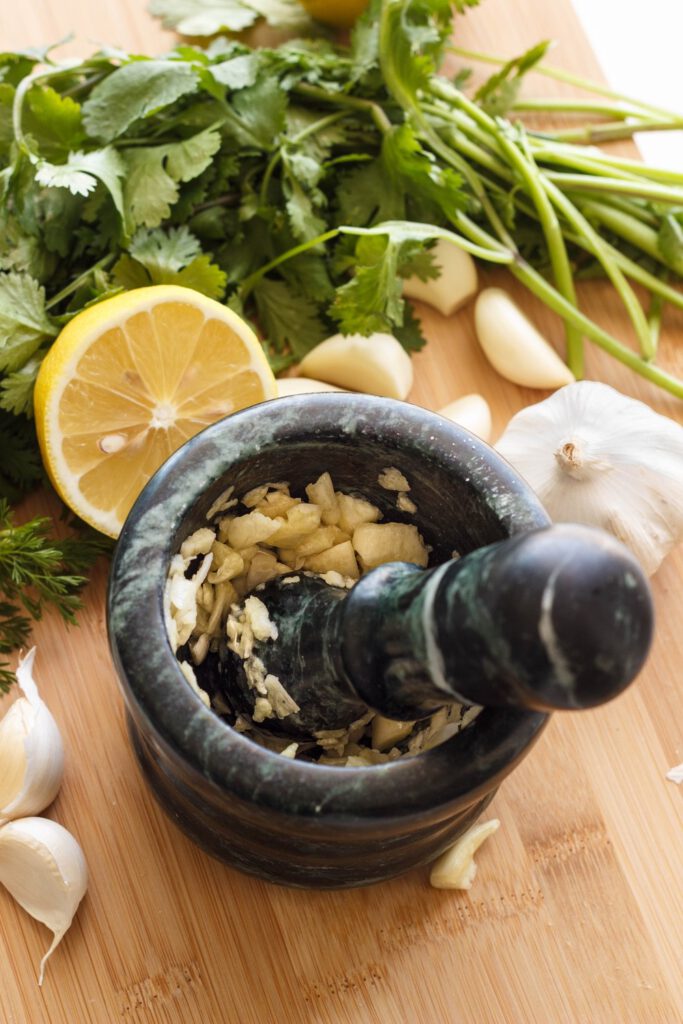
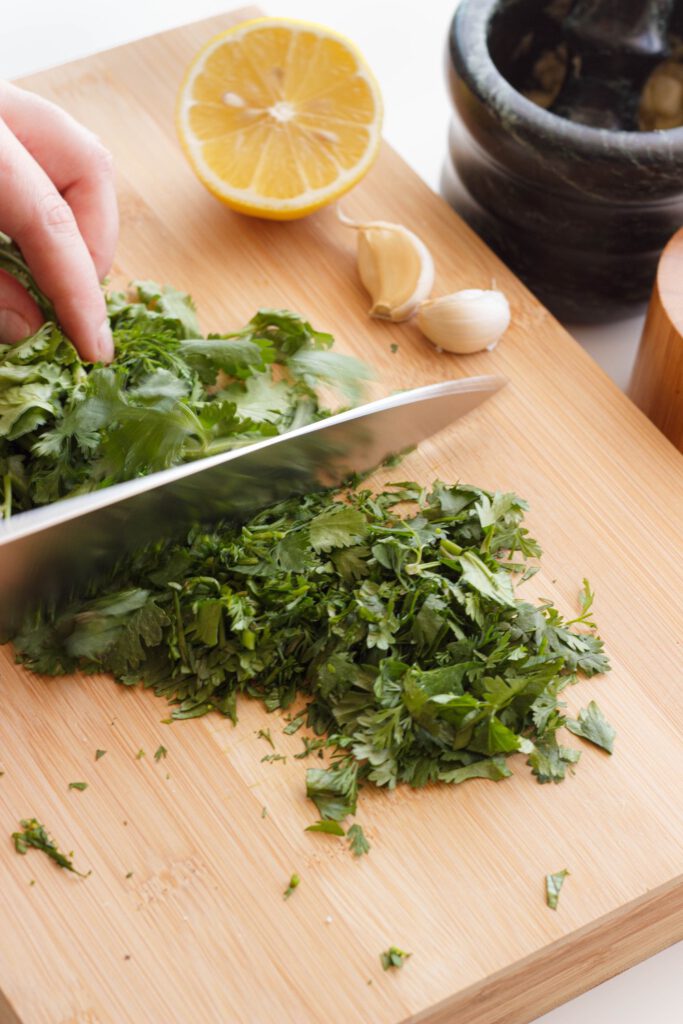
For this dish, you’re going to smash 10 cloves of garlic with a dash of salt. If you don’t have a mortal & pestle you can mince the garlic with a regular garlic mincer. Chop the cilantro as well as small as you can. The amount of cilantro really depends on your taste for this leafy green. It’s one of the key flavors in this dish, but it doesn’t overpower. Feel free to use more than you’re comfortable with!
Check on the leaves
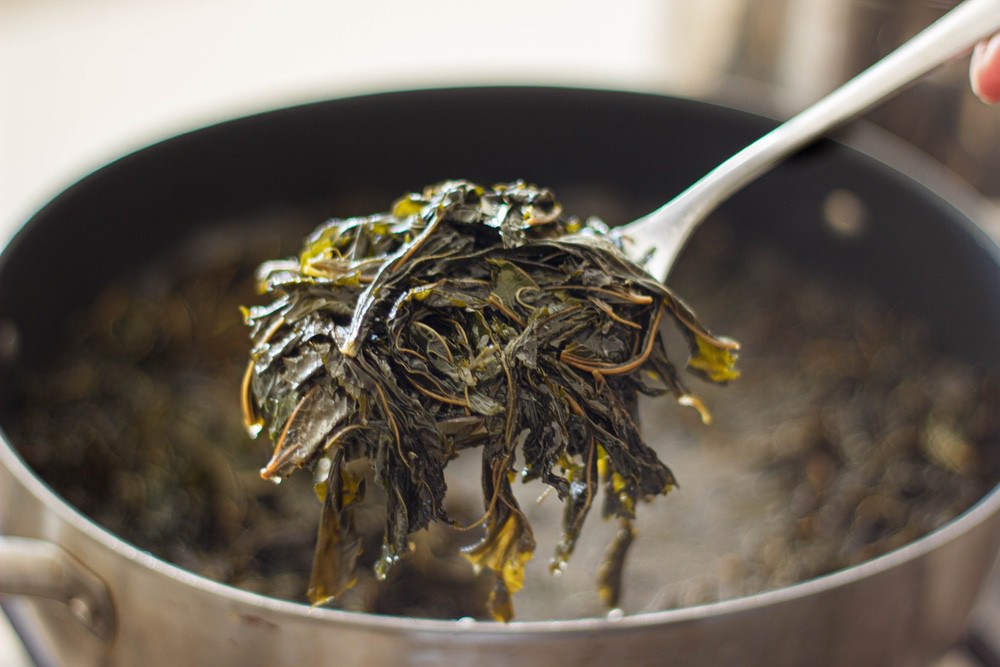
So everyone wants a precise time to be able to set their times and forget about the dish till it’s done. This is one of those dishes which is pretty lenient in that aspect. Depending on the type of your leaves and how long they were soaked and softened for, you need to keep checking in on your stew after the 30 minute mark. Taste the dish from time to time to see if it’s the consistency you’re looking for. What we’re aiming for is a mouthful of leaves that doesn’t have any ‘hard’ stems in it. The leaves need to be cooked to a degree that they are uniformly soft without becoming overly mushy. Your best bet is to go for around 30-50 minutes. Worst thing is to have undercooked mulukhiyah leaves and having to pick out stems from your mouth!
Add the meat
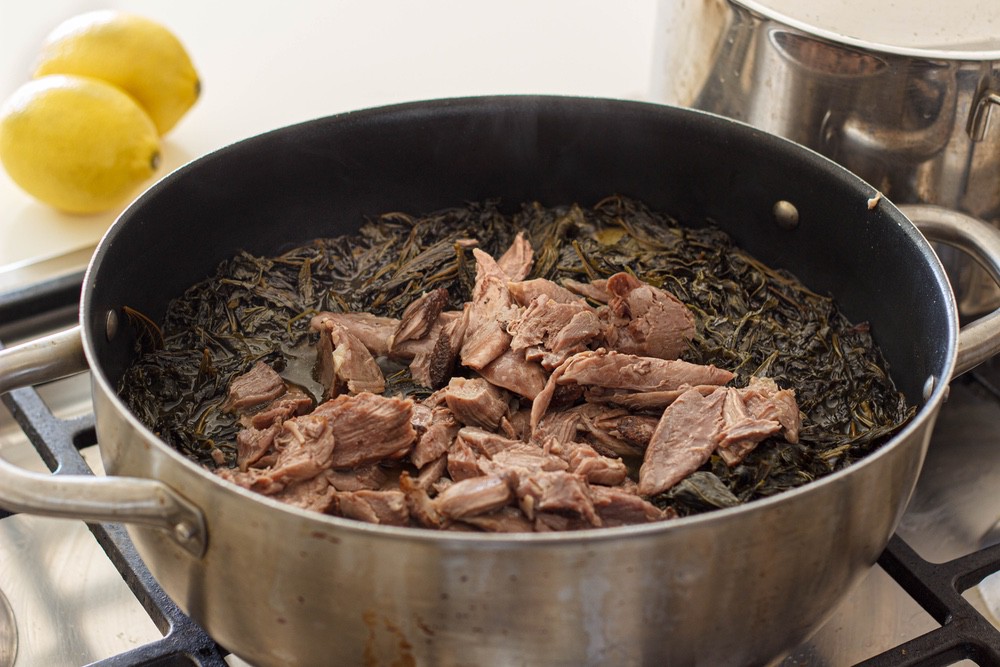
At this point the stew is almost done. Add in the cooked meat pieces from the stock recipe (or the chicken or cooked minced meat) and give it a nice swirl. Usually I continue to cook the stew uncovered for about 10-15 minutes without the cover. This is to help the broth evaporate a little bit as I want to make it less of a soup and more of a strew.
Add the cilantro & garlic
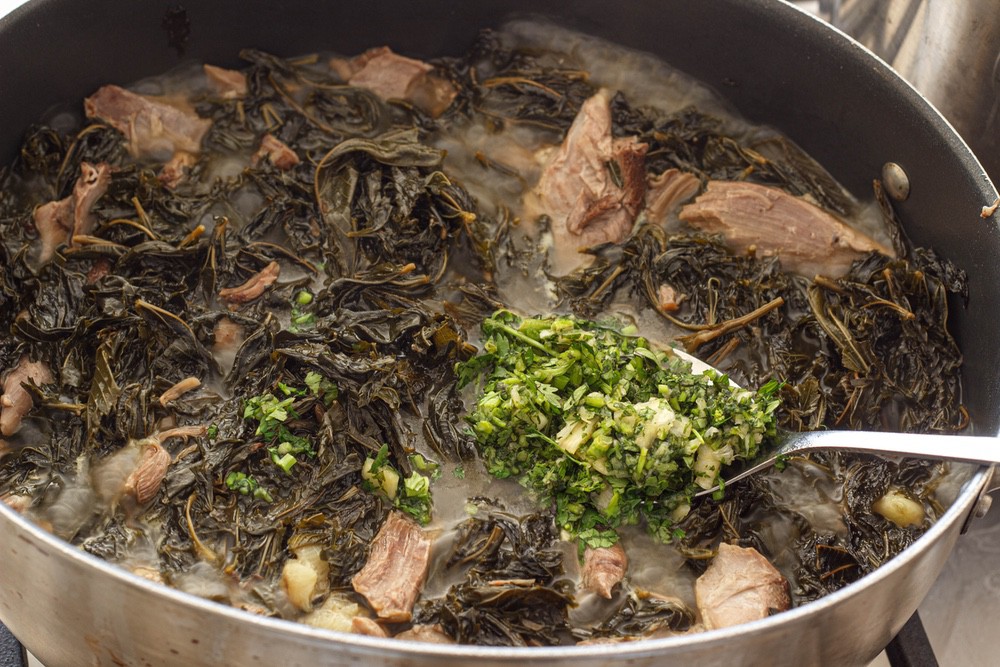
The stew at this point should almost be done! You’re going to be seeing a wonderful mix of leaves and meat hugging a nice thick broth. Remember, if it’s too soupy, just keep it cooking a little while longer uncovered until it’s a consistency you like. Add in the garlic and cilantro at this point and mix it in the stew. Turn off the heat and start preparing your toppings!
Mulukhiyah toppings & sides
Simply lemon
The traditional Syrian topping is always lemon, lemon & more lemon! The standard is to squeeze 4-5 lemons and have the dish of lemon juice ready to be poured into nearby dishes. Make sure to take the seeds out! Or just slice up some lemons and put them on a table for each person to squeeze their own.
Rice & vermicelli
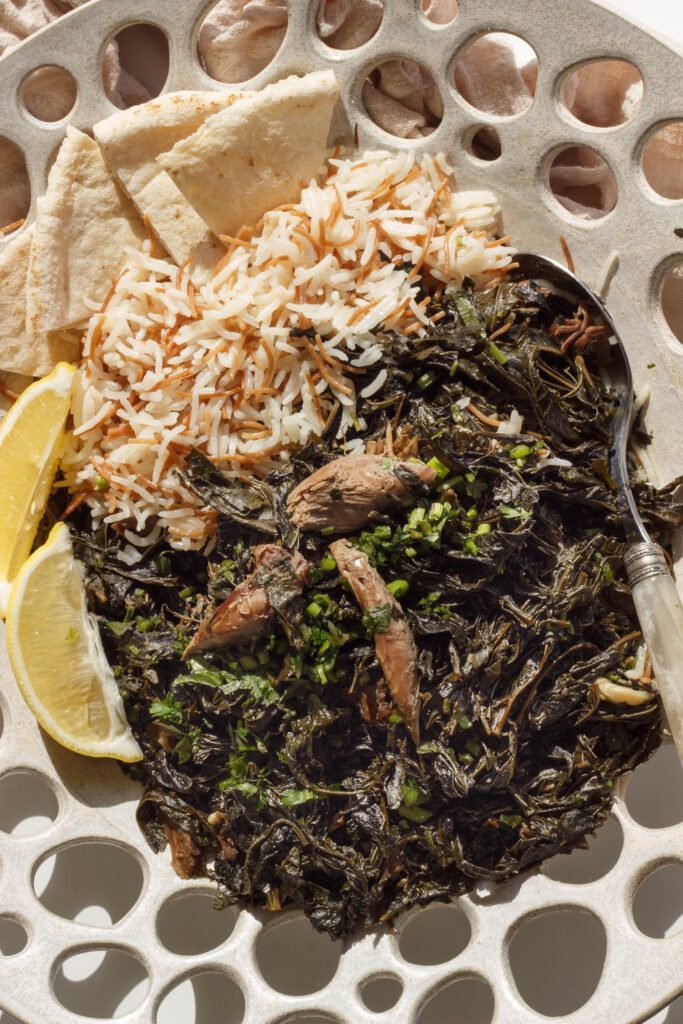
What’s more comforting than a warm bowl of rice infused with mulukhiyah and lemon? Ask any Syrian kid and they’ll agree that it’s the equivalent of chicken noodle soup! Try this recipe for that authentic Syrian style rice cooked in ghee and thin fried vermicelli, the perfect accompaniment to any mulukhiyah stew.
Pita bread
Use some fresh pita bread to scoop up your mulukhiyah, and soak in that delicious gooey sauce! Some prefer this instead of the rice, however I like to incorporate both, and scoop up the rice and mulukhiyah into my pita scoop ? This is also the preferred way to eat mulukhiyah cold straight out of he fridge for those late night munchies.
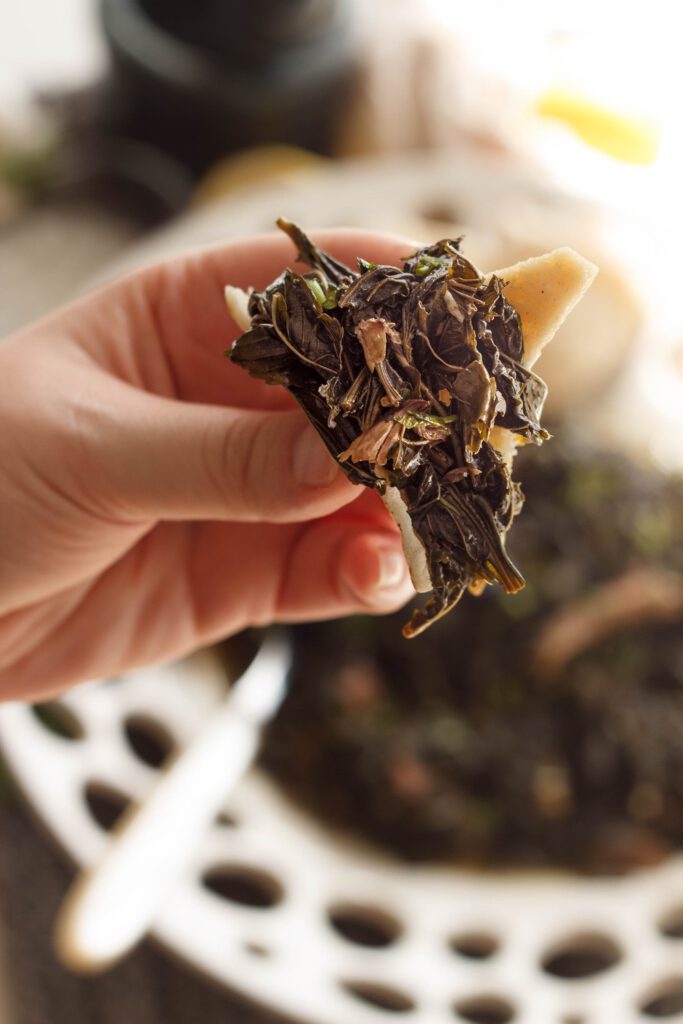
Vinegar & onions
My husband’s favorite topping! When he requested this, I thought it was strictly an Armenian thing, but after a quick poll on my instagram – I realized that almost 80% of my friends (and some family) actually eat it like this! On the other hand, my close family members shuddered at the thought of it! So this comes down to your taste palette and what you enjoy. Chop up a bit of white onion or shallots and combine it with vinegar. You can try different types of vinegar to suit your taste, including white, red, champagne or apple cider. Pour some on top of your dish and enjoy!
Sahtain!
I hope you’ve enjoyed this guide to cooking the Syrian style of mulukhiyah. How did it come out? What toppings do you enjoy with it? Let me know in the comments!
Mulukhiyah – Syrian Jute Leaves Stew with Lamb, Coriander and Lemon
Equipment
- Pressure Cooker
- Large casserole pot with lid
- Mortar & Pestle or Garlic Mincer
- Large bowl for soaking the leaves
Ingredients
- 200 g Mulukhiyah Leaves (Jute Leaves) dried
- 2-3 tbs ghee
- 5 garlic cloves whole
- 1 batch
Beef or Lamb Meat & Stock - 2-3 tsp salt
Cilantro & Garlic Mix
- 1 bunch coriander / cilantro chopped finely with stems
- 5 garlic cloves minced or mashed in mortar & pestle
- 1 tbsp salt
Vinegar & Onion Topping
- 0.5 white onion finely chopped
- 0.5 cup white vinegar
Other Toppings & Sides
- pita bread
- 3 lemons juiced and for serving
- Syrian Rice & Vermicelli
Instructions
Prepare the Lamb Meat & Stock
- Prepare a batch of Beef or Lamb Meat Stock to use in this recipe. You can use beef or lamb, but the lamb is the more Syrian choice.
Prepare the dried Mulukhiyah
- Rinse the Mulukhiyah in a large bowl and drain a few times to remove any dust or dirt. Then soak it in plenty of hot water for 1 hour.
- Strain it, squeeze out the water, and wash it again in cold clean water and leave it to soak for another 30 minutes.
- Strain it, squeeze out the water, and leave it to dry on a towel until you are ready to cook it. Make sure it dries out completely.
Cook the Mulukhiyah
- Heat a large pot (enough to hold the stew!) over medium high heat, and melt the ghee in it.
- Add the whole garlic gloves and fry them for around 1 minute. They should become aromatic but not burn.
- Add the dried Mulukhiyah, and fry it alongside the garlic cloves – for about 5 minutes. It should smell delicious.
- Add the stock into the pot, and bring to a boil. Add 2 tsp of the salt and stir it around.
- Put the lid on the pot, and simmer it for about 1 hour. Basically you are looking for the Mulukhiyah to soften like silk. You can start to check for done-ness at the 30-45 min mark.
- After the hour or so you can add the meat pieces that you made from the Beef or Lamb Meat Stock into the pot, and cook for an additional 15 minutes with no lid.
- Beat the garlic, salt & cilantro in a mortar or pestle for that authentic Syrian taste, or just mince the garlic and add it with the chopped cilantro.
- Taste the stew, and if it needs more salt – add one more tsp of salt. Season to your taste buds!
Did you make this recipe?
Please let me know how it turned out for you! Leave a comment below and tag @tasteofsham on Instagram.

